Custom Webhooks Configuration
 |
The Administrator role is required to perform the actions described below. |
To configure a custom webhook, open the administration page by clicking the Administration ![]() button in the upper right corner, and select the Custom Webhook Configs menu item on the left.
button in the upper right corner, and select the Custom Webhook Configs menu item on the left.
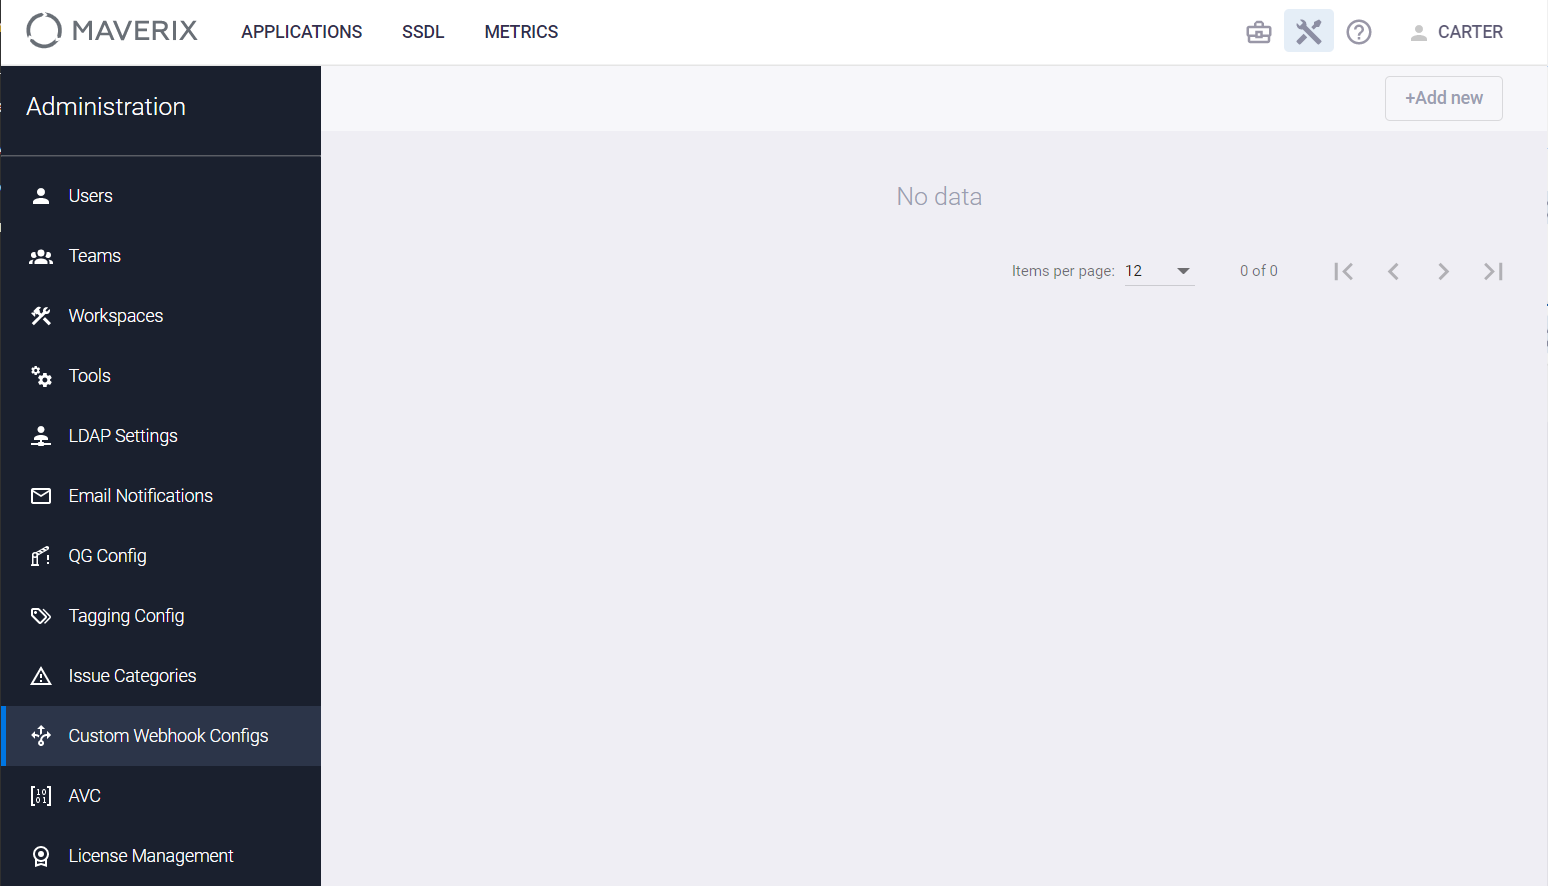
In the upper right corner of the page that appears, click the +Add new button.
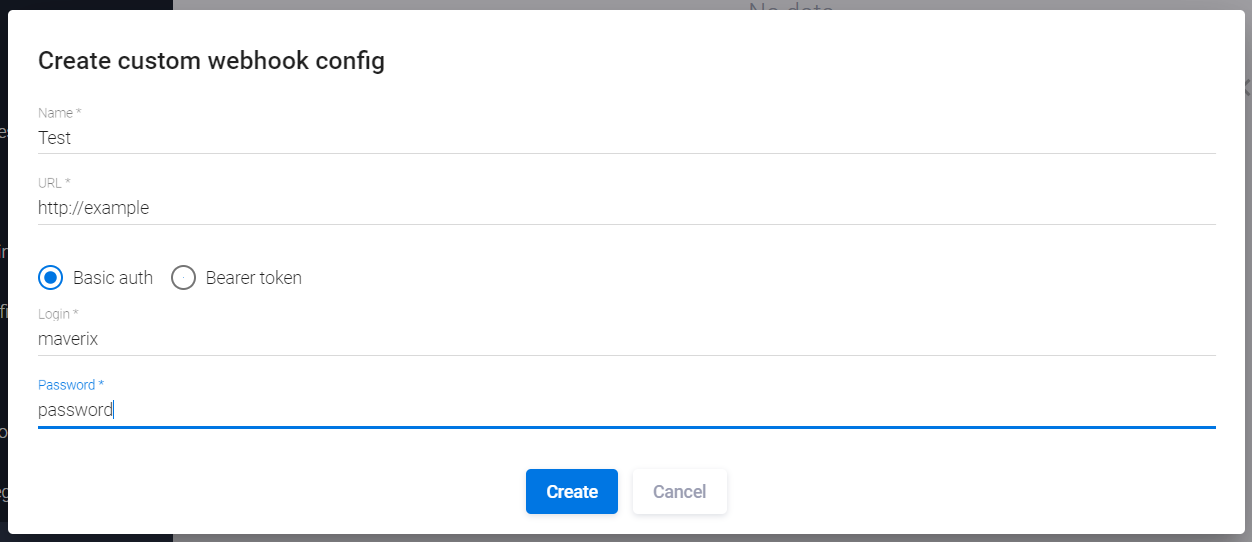
In the dialog window that appears, specify a name of of the configuration in the Name field, in the URL field - the address where the corresponding data will be transferred, and select the authorization method: using Login/Password or using a token.
Once a custom webhook configuration is created, it can be added to the codebase security pipeline or artifact security pipeline. For more information, see the "Security Pipelines" section of the User Guide.
After configuring the security pipeline, you can export it to a CI/CD tool and then start scanning.
|
Note: If a security pipeline with the custom webhook configuration is selected as a template, for example, for automatic integration of Maverix into a development cycle, the custom webhook will be automatically included in all security pipelines created during that integration.For more information, see the "On-boarding — automating Maverix integration into the development cycle" of the User Manual. |