Quality Gates
 |
The Administrator role is required to perform the actions described below. |
Maverix allows you to create and configure Quality Gates (QG) to work with applications and thus define the quality criteria for accepting scan results. Based on the QG criteria, the system decides whether the security pipeline was completed successfully or not. If the QG criteria are not met, the result of the security pipeline gets the status "failed". Maverix returns a "failed" status to the CI/CD tool (e.g., TeamCity), and the security pipeline execution stops. It is recommended to set different QG criteria for pipelines intended for development, testing and release purposes. It is also recommended not to set QG criteria for code that is in development and not included in the release.
Maverix implements centralized management of Quality Gates. On the administration page, you can create a Quality Gate and define the quality criteria for it. It can then be included in various security pipelines for applications. As a result of this approach, changing the Quality Gate leads to automatic and simultaneous change of the criteria in all security pipelines that use this Quality Gate.
Creating a Quality Gate
Click the Administration  icon in the right upper corner to go to the administration page.
Select the QG Config menu item and click the +Add new button.

Specify the Quality Gate Name and click the Create button.
The confirmation message appears at the bottom right , and the QG Config page displays the created Quality Gate card.
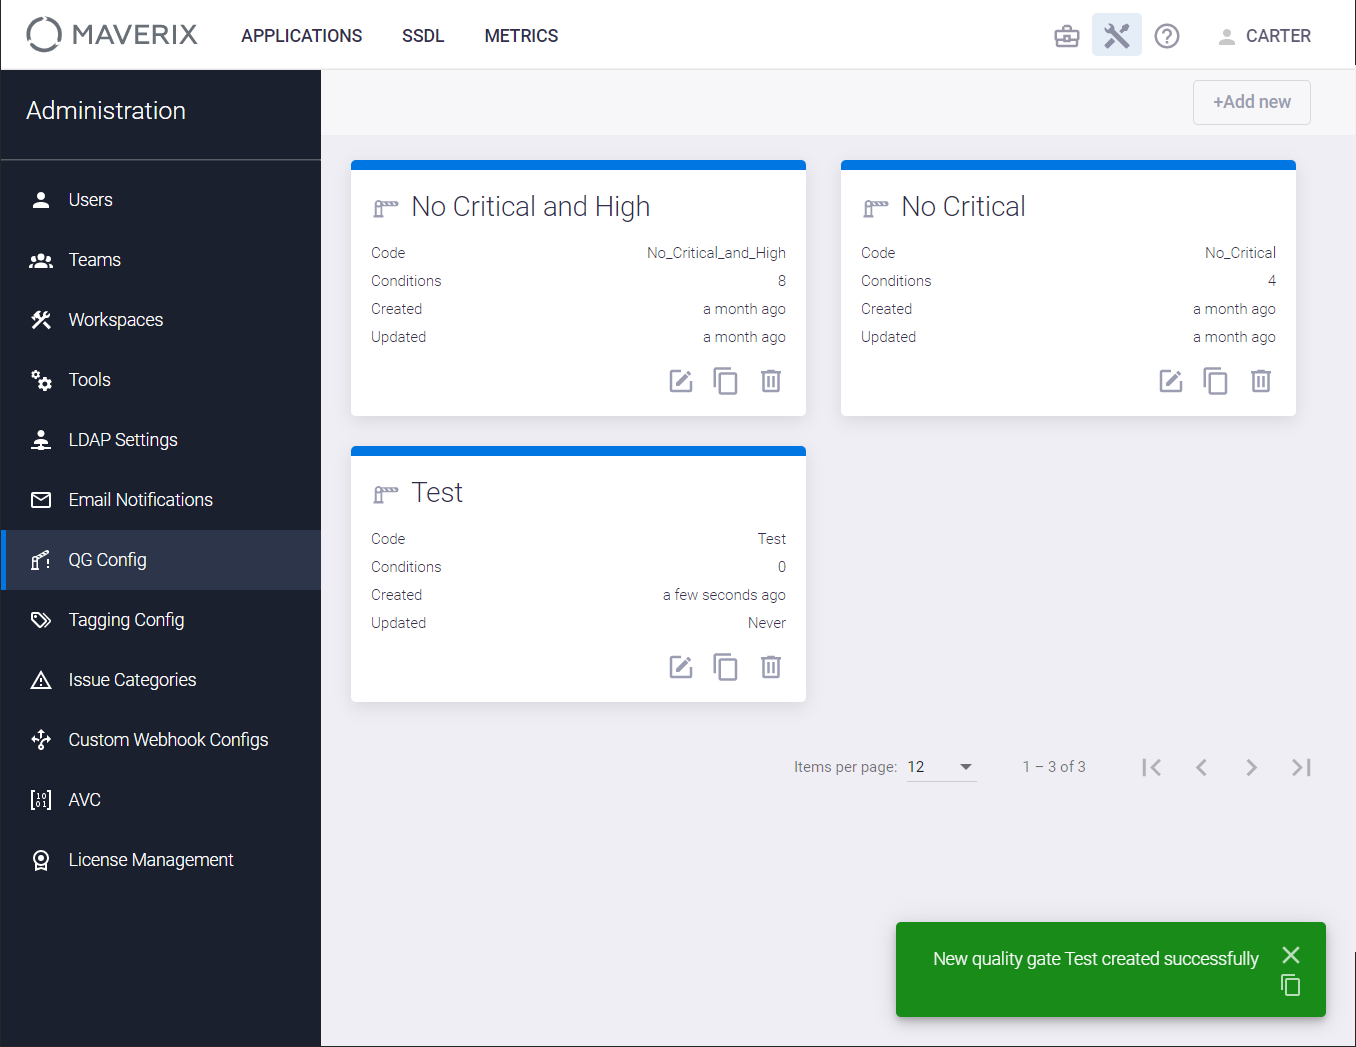
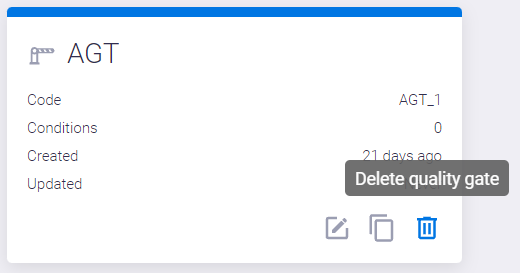
The Quality Gate card displays the following parameters:
- Quality Gate name.
- Unique Quality Gate code generated automatically when creating a profile.
- The number of specified Conditions.
- Time since the creation of the Quality Gate (Created).
- Time since the last Quality Gate update (Updated).
Quality Gate Setup
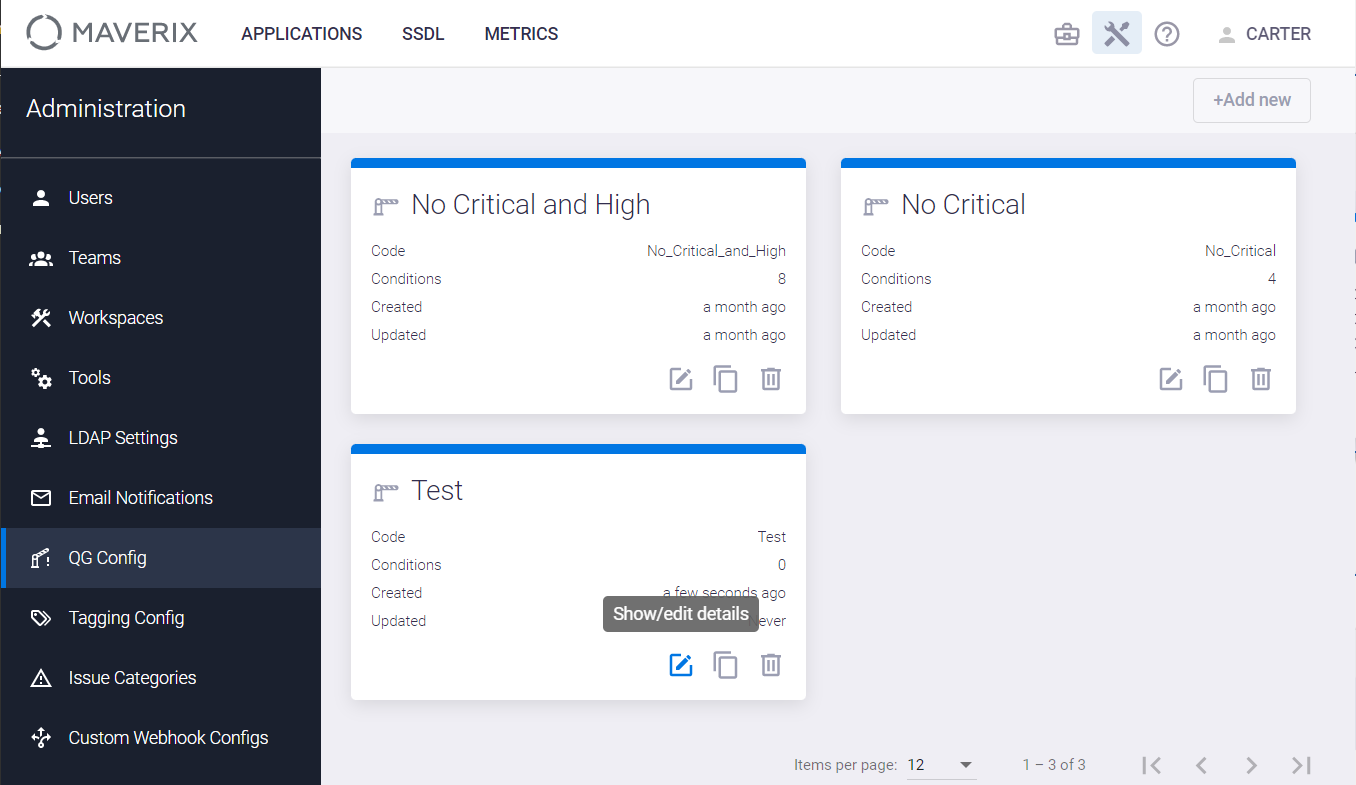
To set up Quality Gate, click the Show/edit details icon in the bottom right corner of its card. For more information on creating a Quality Gate, see the "Creating a Quality Gate" section above.
The Quality Gate page has two tabs:
- The Conditions tab is used to define the Quality Gate conditions.
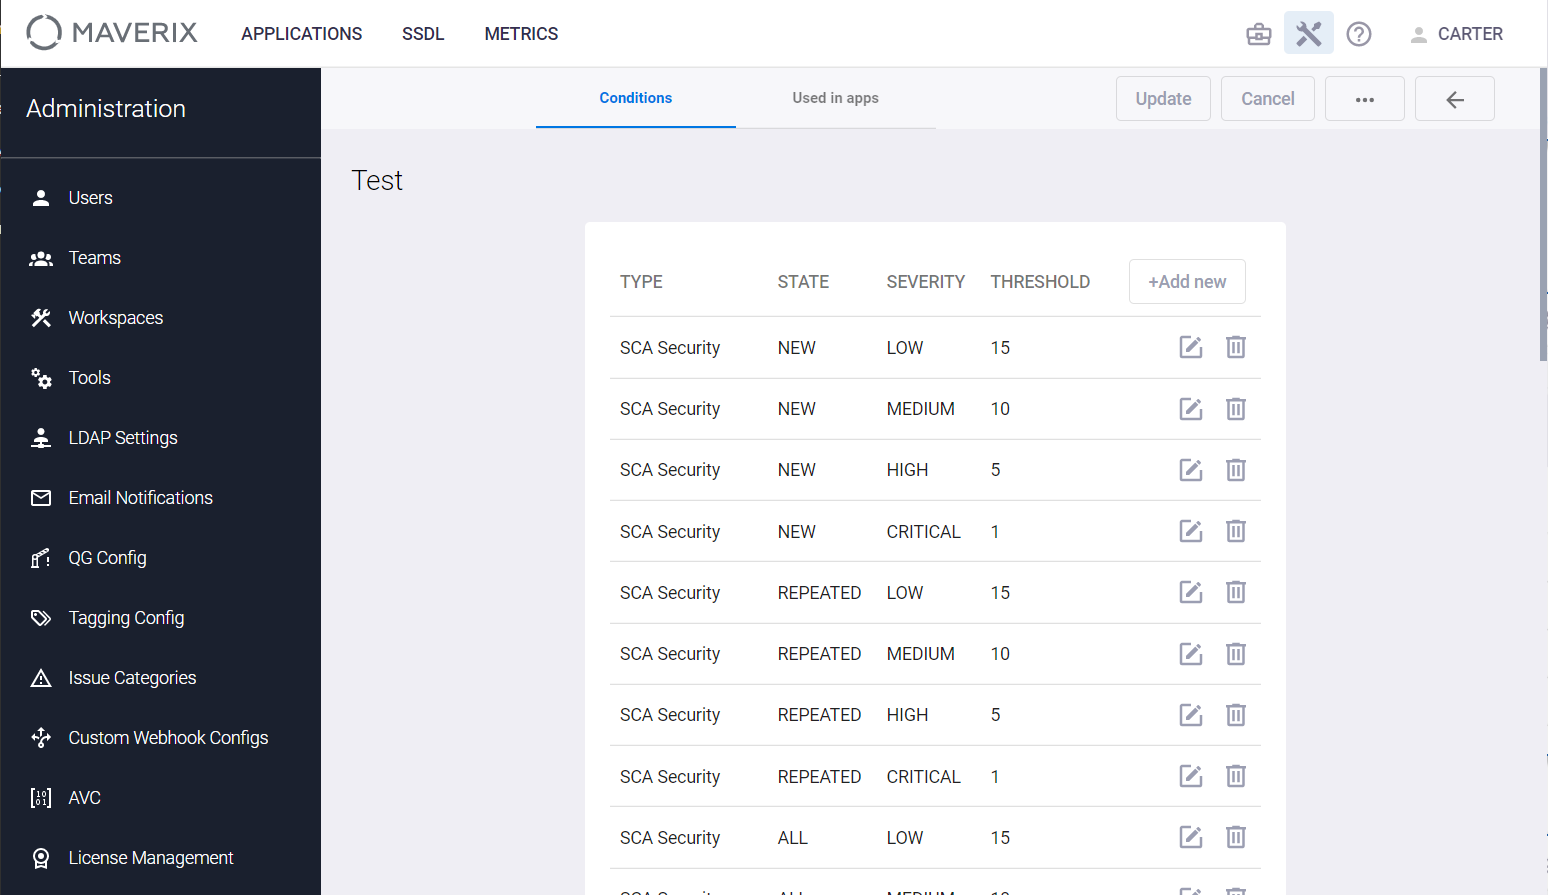
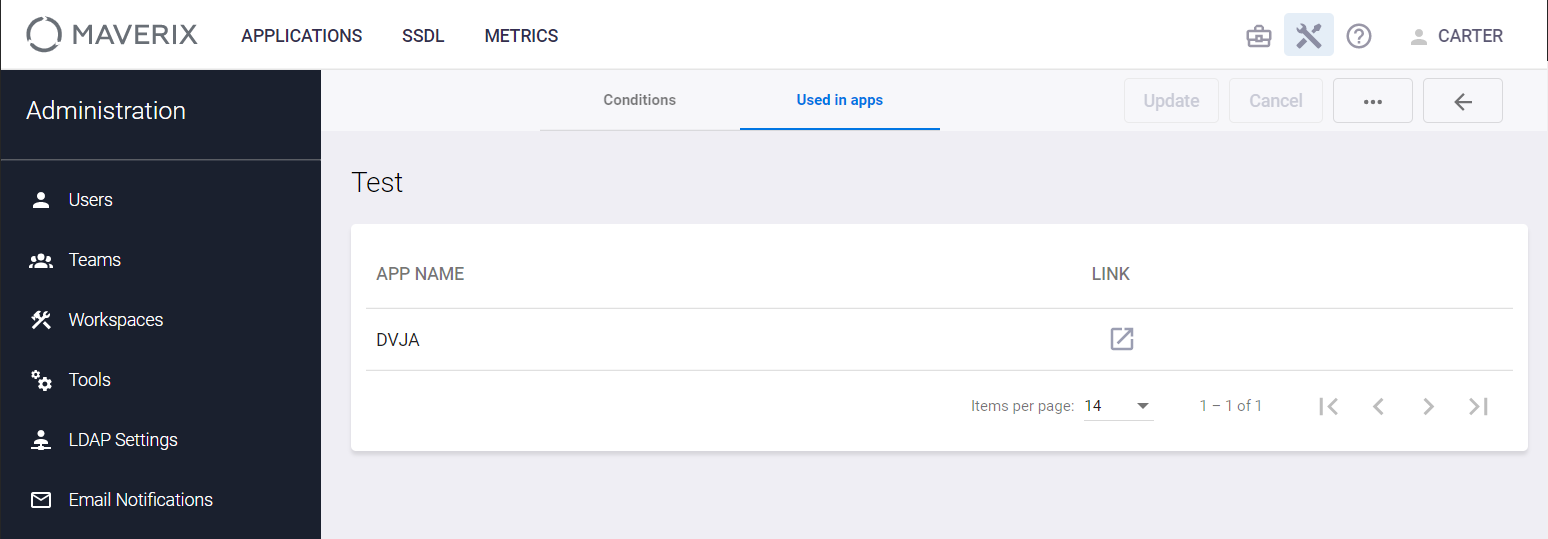
- The Used in apps tab displays a list of applications that use this Quality Gate.
Adding Сonditions to Quality Gate
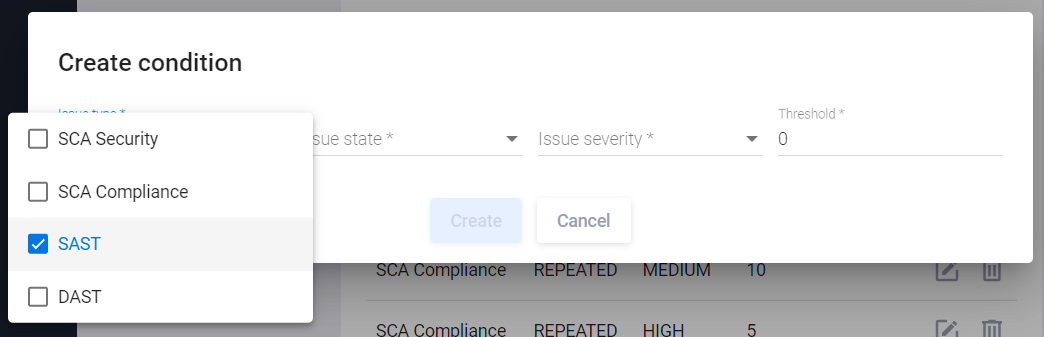
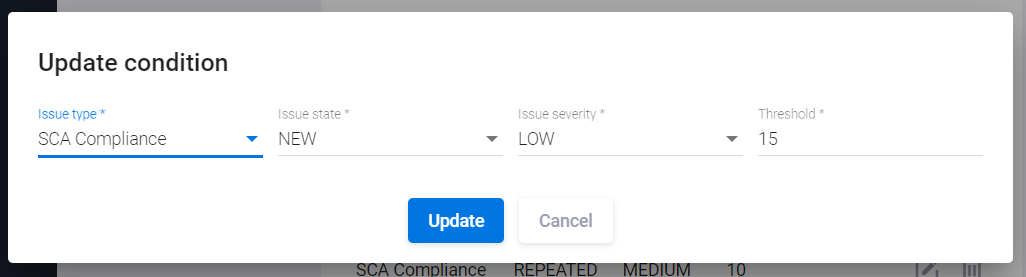
To add conditions to the Quality Gate, open the Quality Gate setup page (see the "Quality Gate Setup" section) and click the +Add new button. In the window that appears, in the Issue type field, specify the AST practices for which the conditions are defined.
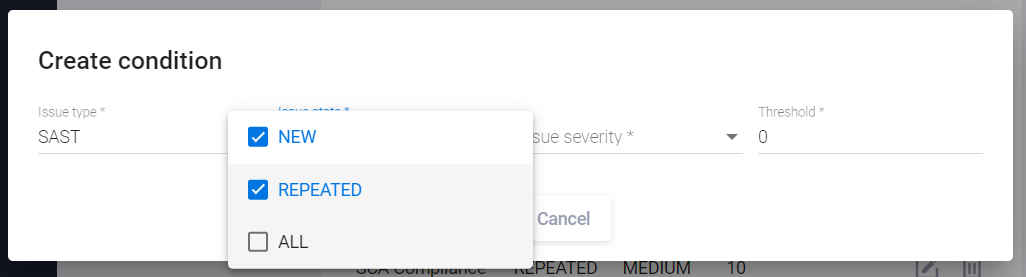
Specify the security issue statuses in the Issue state field. Available values: NEW, REPEATED, ALL:
In the Issue severity field, specify the security issue severity. Available values: LOW, MEDIUM, HIGH, CRITICAL:
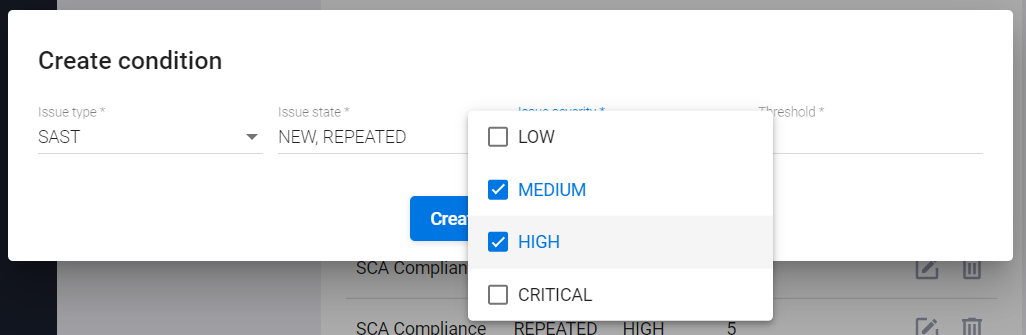
and in the Threshold field specify the maximum allowed number of relevant issues.
After selecting the necessary parameters, click the Create button, and the appropriate conditions will be added to the Quality Gate.
Automatic Adding Conditions to Quality Gate
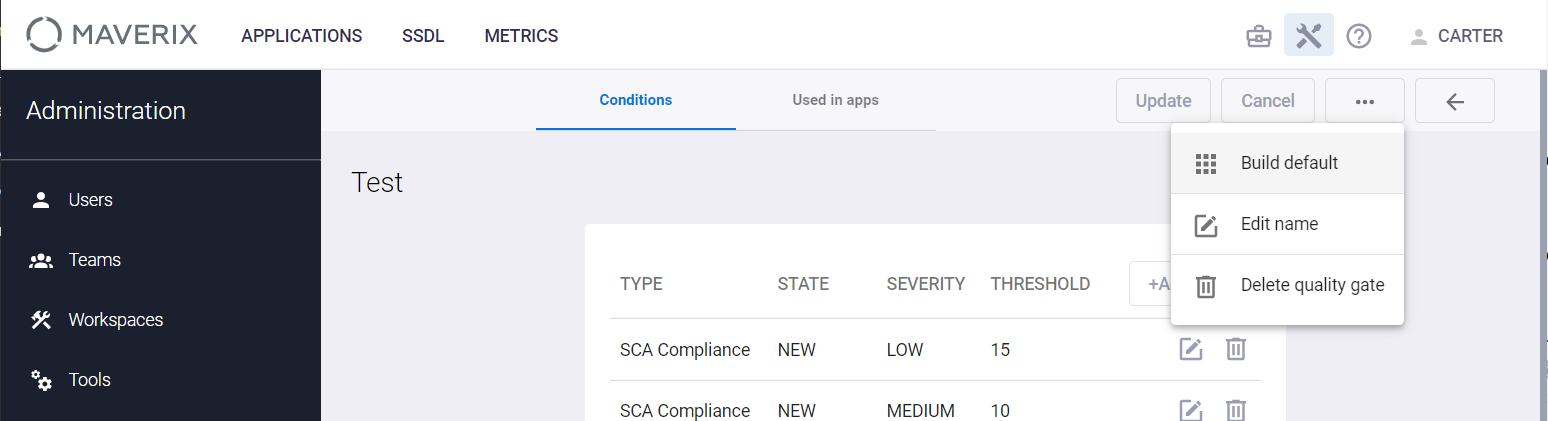
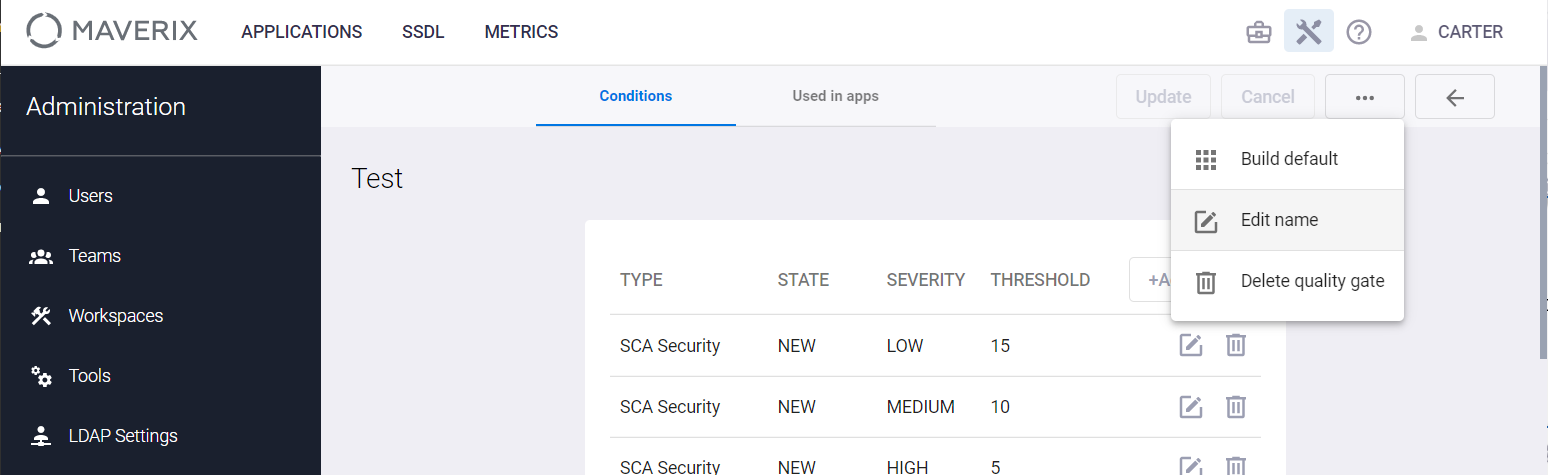
Given the wide range of conditions that can be defined when creating a Quality Gate, and the noticeable efforts that can be spent on it, there's a function for automatically adding criteria. Click the Actions ![]() button in the upper right corner and select Build default from the drop-down menu that appears. All possible conditions will be added to the Quality Gate and Security Engineer will only have to edit the thresholds for the necessary conditions and remove the unnecessary ones.
button in the upper right corner and select Build default from the drop-down menu that appears. All possible conditions will be added to the Quality Gate and Security Engineer will only have to edit the thresholds for the necessary conditions and remove the unnecessary ones.
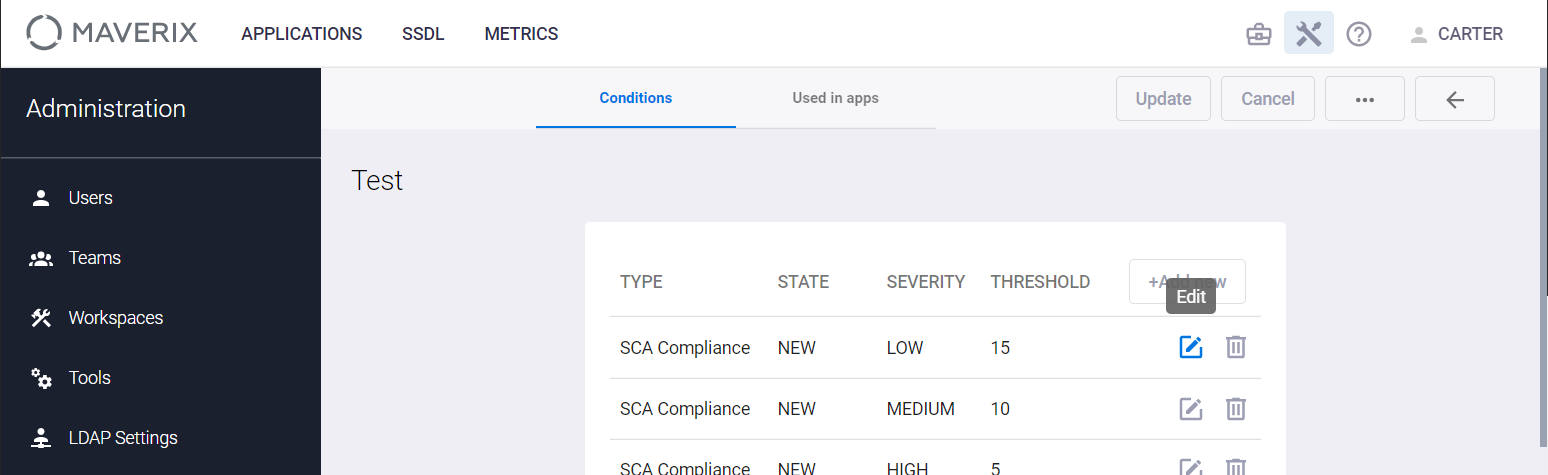
To edit the parameters of the condition, click the Edit ![]() icon. Change the necessary values and click Update to save changes.
icon. Change the necessary values and click Update to save changes.
Removing conditions from Quality Gate
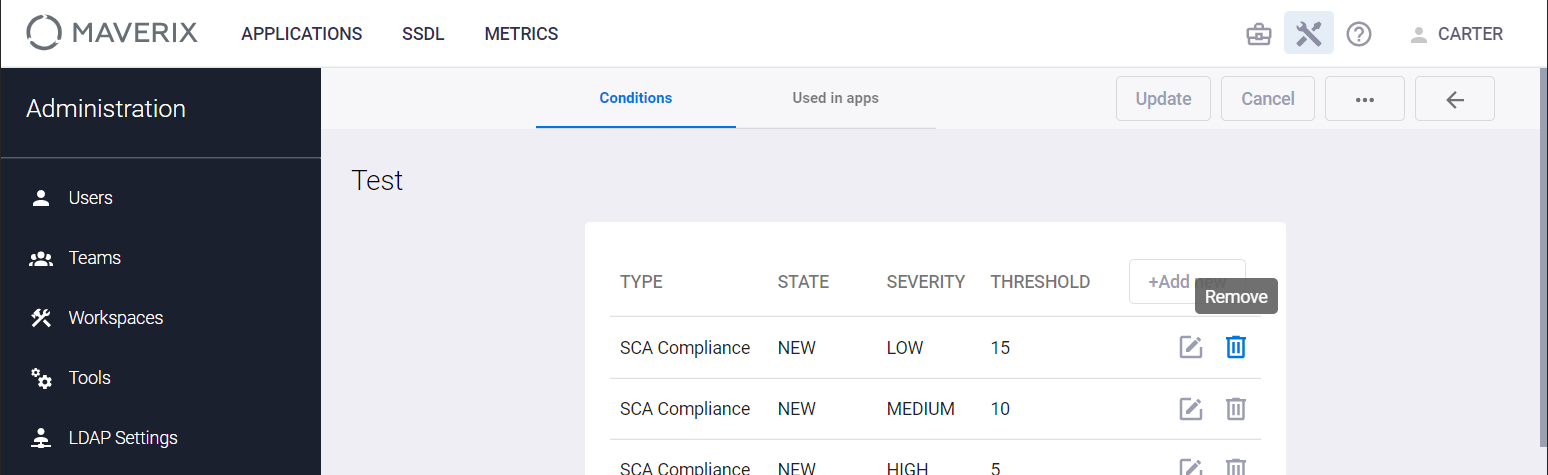
To remove a condition, click the Remove  icon to the right.
Saving Quality Gate Settings
Once you have defined the necessary conditions, click the Update button in the upper right corner to save changes, or click the Cancel button to discard them.

Also, while on this page, you can edit or delete the Quality Gate name.
To edit the Quality Gate name, click the Actions ![]() button in the upper right corner, and select the Edit name item from the drop-down menu that appears.
button in the upper right corner, and select the Edit name item from the drop-down menu that appears.
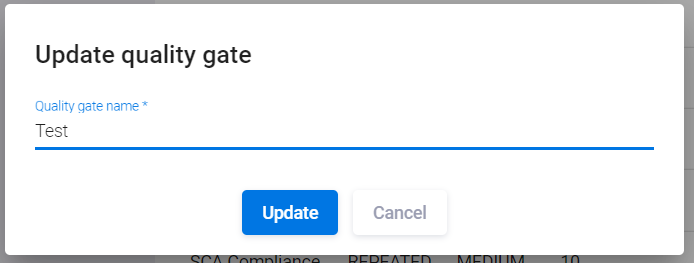
In the window that appears, specify the new Quality Gate name and click the Update button.
Deleting Quality Gate
To delete a Quality Gate, open the QG Config page, see the "Creating a Quality Gate" section. In the bottom right corner of the Quality Gate card, click the Delete Quality Gate ![]() icon.
icon.
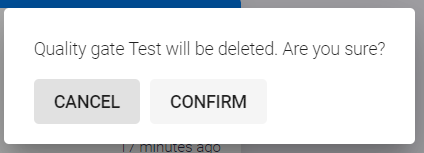
Click Confirm to confirm deletion of the Quality Gate.
In addition, theQuality Gate can be deleted from the page of its conditions, see the "Adding Сonditions to Quality Gate" section.
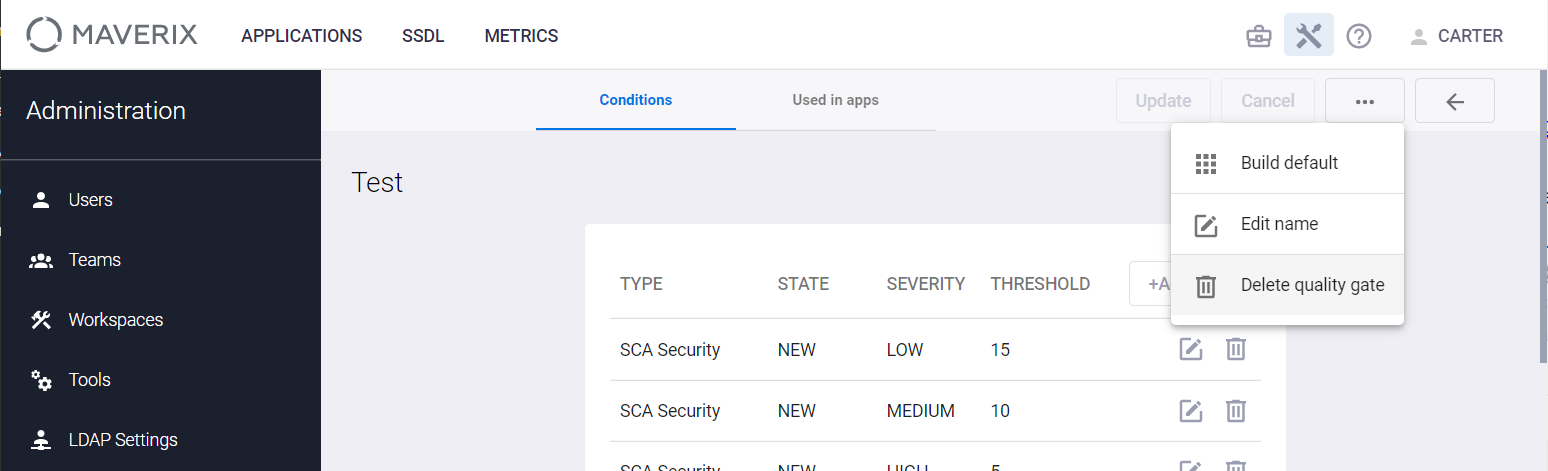
Click the Actions ![]() button in the upper right corner and select Delete Quality Gate from the drop-down menu that appears.
button in the upper right corner and select Delete Quality Gate from the drop-down menu that appears.
Click Confirm to confirm deletion of the Quality Gate.
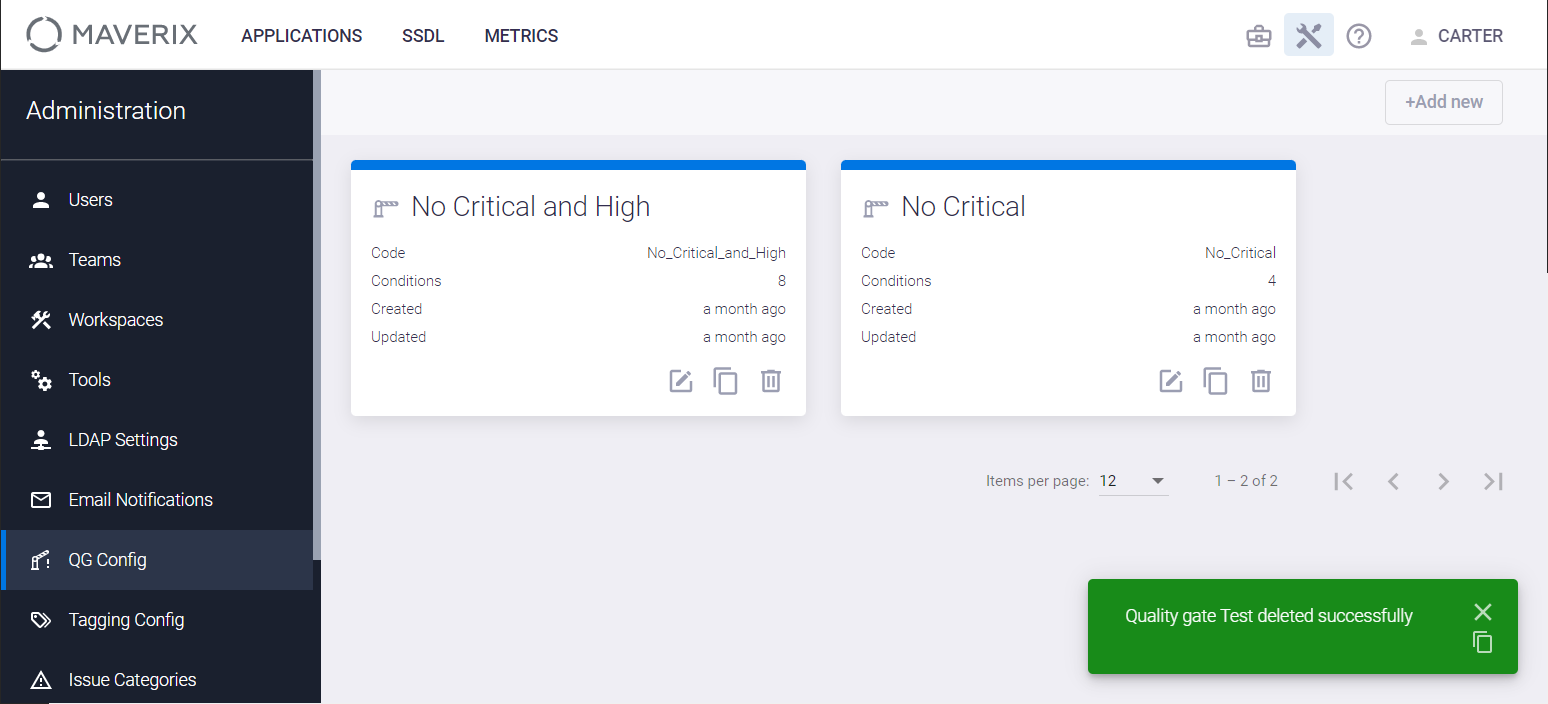
After deleting the Quality Gate, the notification will appear in the lower right corner.
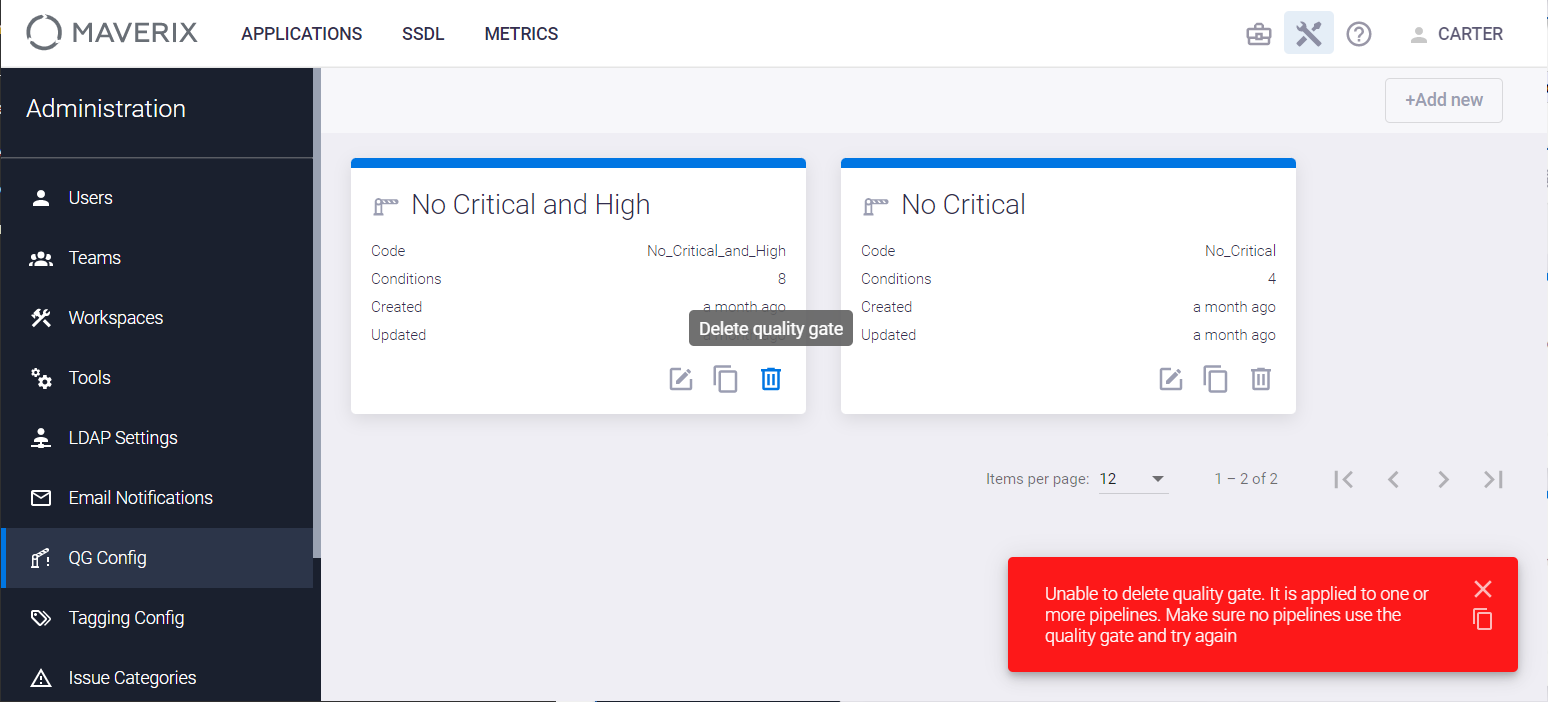
| Note: If you try to delete the Quality Gate used in any security pipeline, the warning is displayed in the bottom right corner. |
In this case, you should first disable this Quality Gate in the corresponding security pipeline(s) and then delete it. The most convenient way to do this is as follows. Open the Quality Gate profile setup page, see "Quality Gate Setup". Select the Used in apps tab. This tab displays a list of applications that use this Quality Gate. Click the  icon in the LINK column to go to the page of the corresponding security pipeline. Select the Quality gate tab in its settings, and disable the Quality Gate in the security pipeline. After that, you can move on to deleting the Quality Gate in any of the ways described above.
Quality Gate Duplication
To create a duplicate of the Quality Gate, click the Duplicate ![]() icon in the bottom right corner of the Quality Gate card.
icon in the bottom right corner of the Quality Gate card.
Duplicating a Quality Gate can be useful if you need to create a new Quality Gate with a similar set of conditions, but with different thresholds, for example. For instance, similar Quality Gates with different criteria are used to test and release an application.