Security Defects
Usually, the AST tool generates tens or even hundreds of warnings about security issues. Not all of these issues are unique and really important for the application security. A Security Engineer needs to analyze security issues and form application security technical debt based on the security testing results. The outcome of the security issues analysis is a list of security defects submitted into the project Defect Tracking System.
Vulnerabilities discovered by AST tools during a scan are called security issues.
Vulnerabilities submitted to the Defect Tracking System (e.g., Jira) are called security defects.
There are several major differences between security issues and defects:
- Security issues are detected and documented using AST tools. Security Engineer assigns defect status to a security issue when it is entered into the Defect Tracking System.
- Security issues are stored in AST tools and imported into Maverix. Security defects are created in Maverix and exported to the Defect Tracking System (e.g., Jira).
- Security defects are created based on security issues. One security defect can include several security issues. This decision should be made by the Security Engineer based on the analysis results.
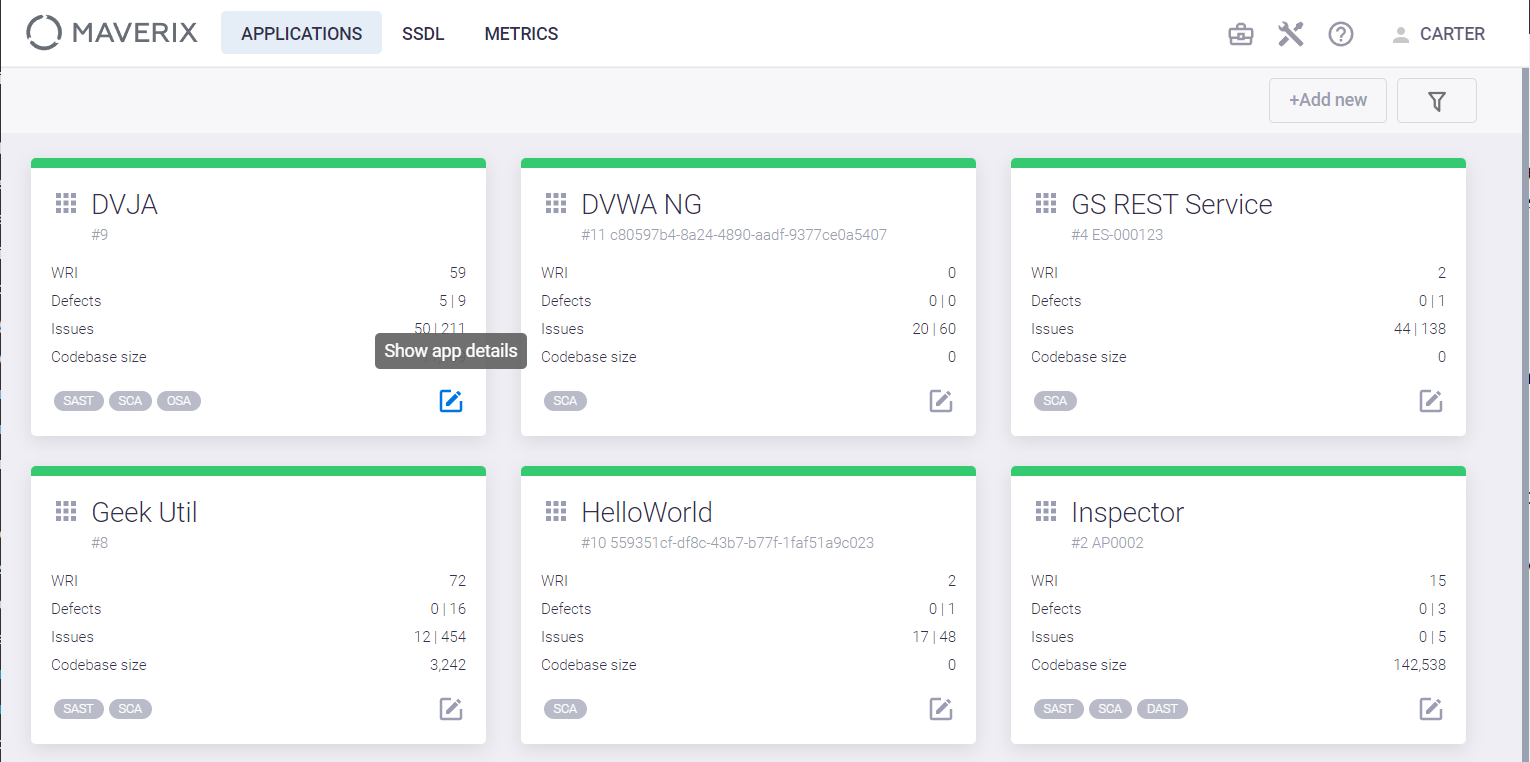
Select an application and click the Show app details  button in the bottom right of its card to create a new security defect in Maverix.
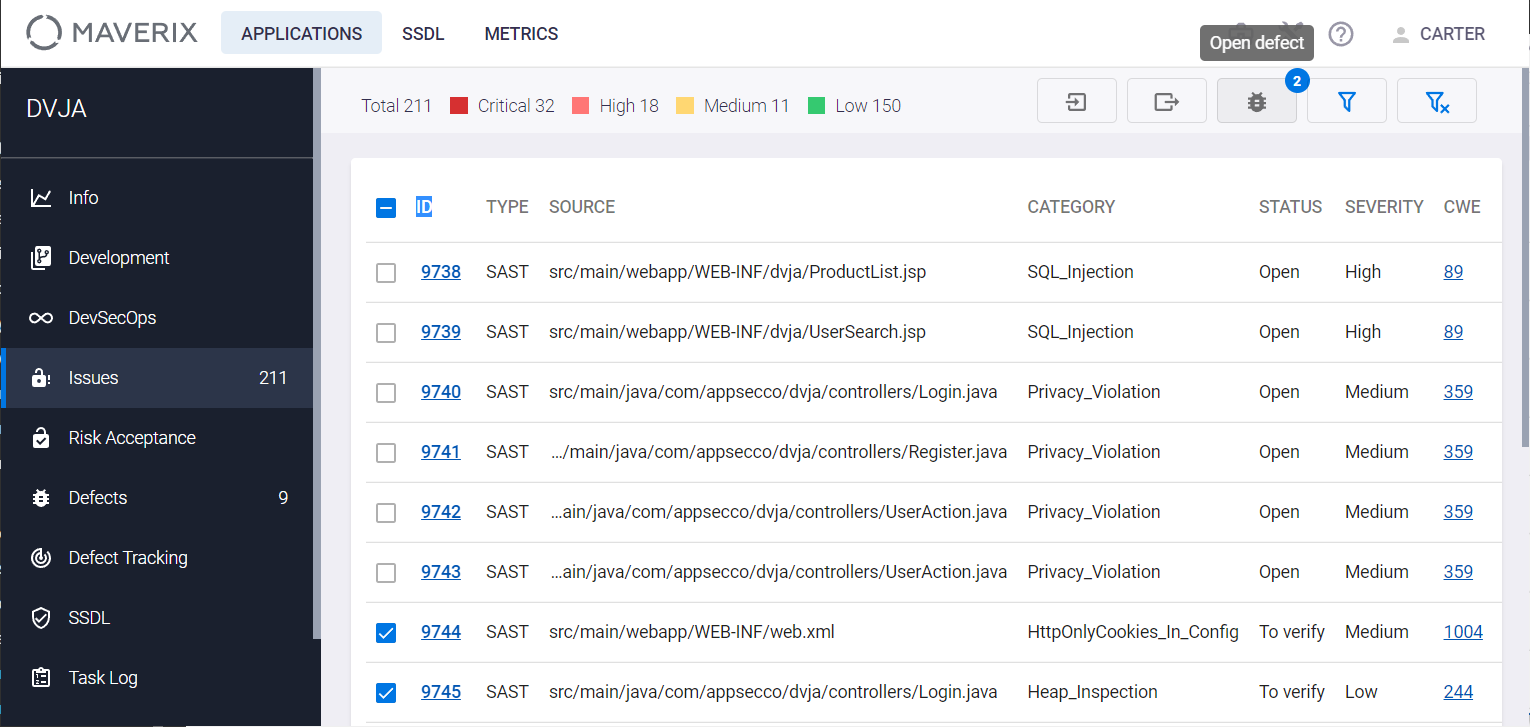
Select the Issues menu item on the left. Click the Show filters ![]() button at the top right. On the Filters tab, select one of types of security issues in the by type field (SAST, DAST, SCA Compliance or SCA Security), and the To verify status in the by status field.
button at the top right. On the Filters tab, select one of types of security issues in the by type field (SAST, DAST, SCA Compliance or SCA Security), and the To verify status in the by status field.
Select the security issues that will be used to create the defect. Use the checkboxes ![]() to the left of the security issue ID for selection. Selected issues will be marked with the
to the left of the security issue ID for selection. Selected issues will be marked with the  checkbox. Once selected, the Open defect
  button in the top right corner becomes active. Next to it, you will see the number of security issues associated with the defect being created.
Click the Open defect button to create a new security defect. The window with information about the defect being created appears. This window has two tabs: Description and Linked issues. The Description tab contains a detailed description of the security defect, while the Linked issues tab contains a list of the security issues associated with the defect with their total number.
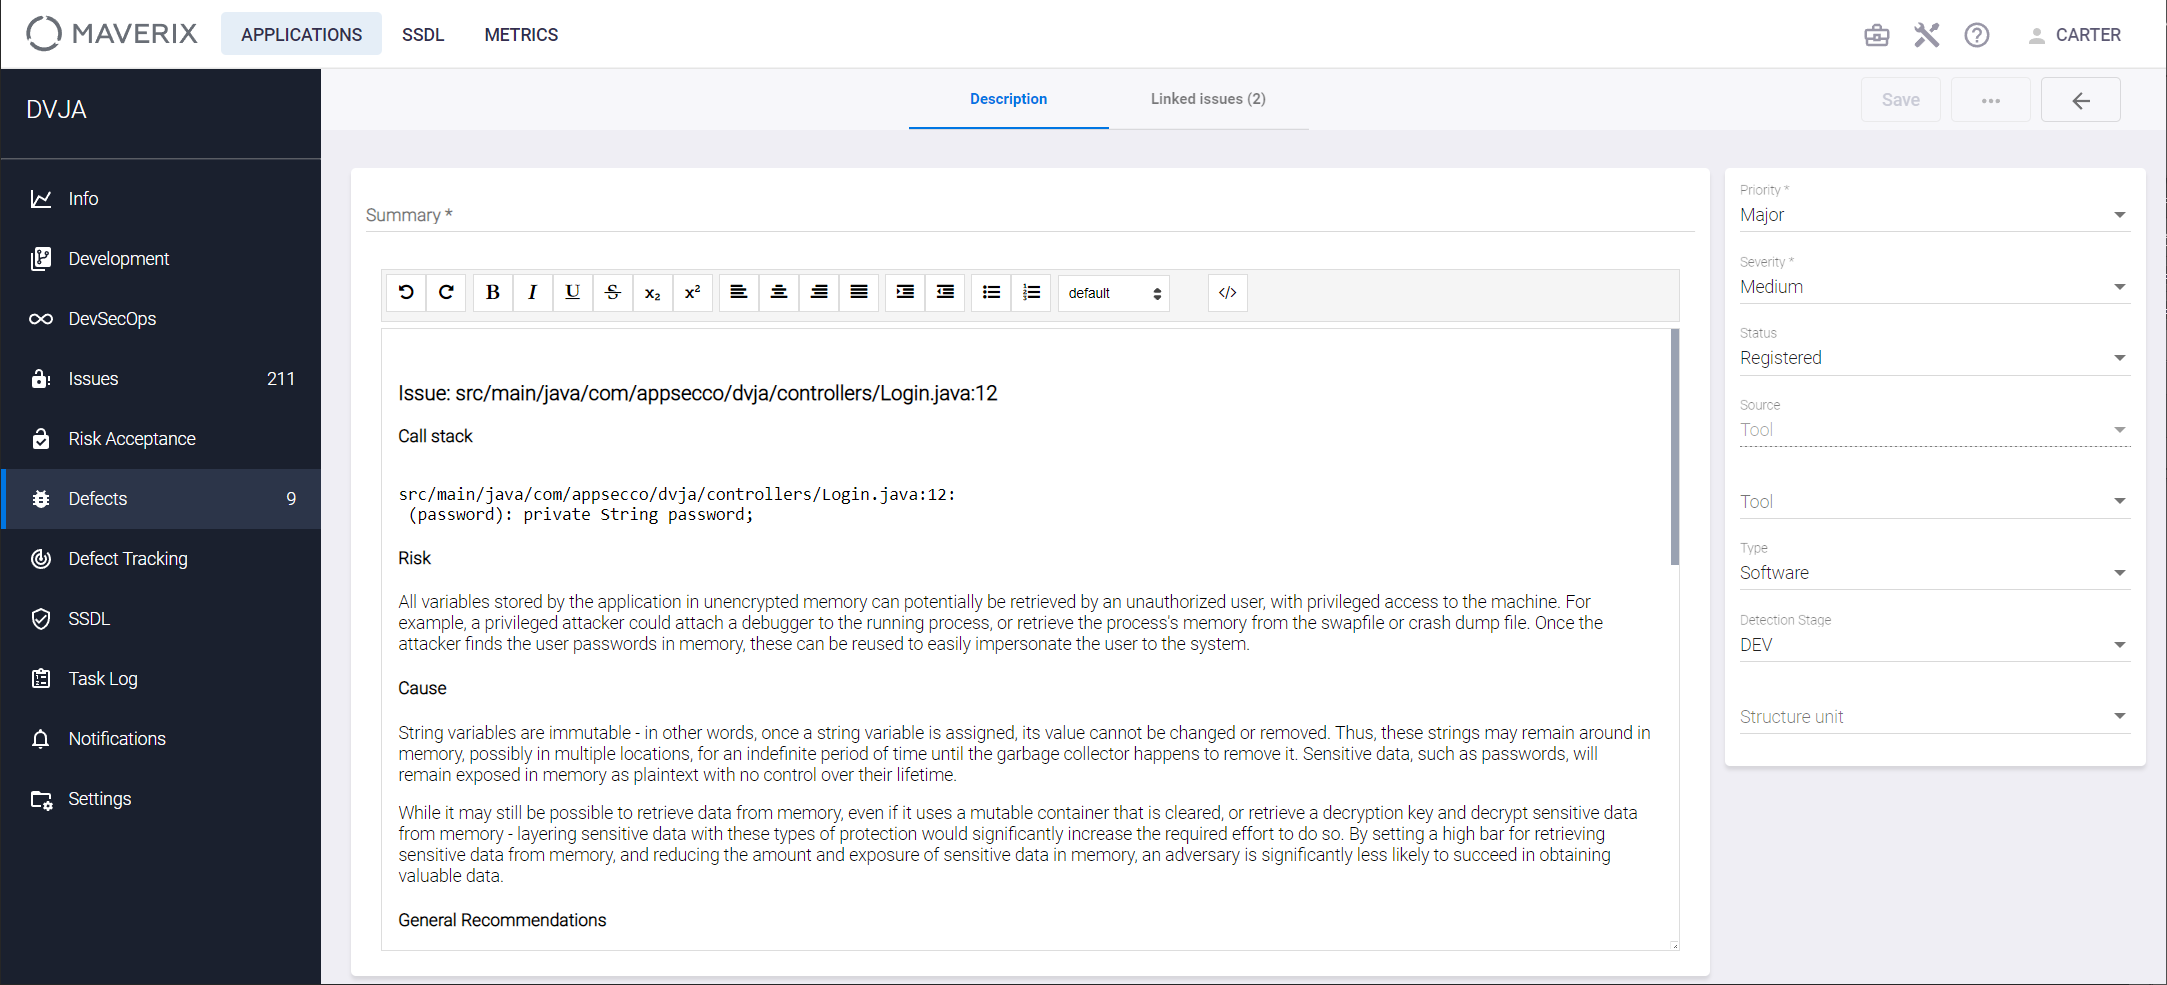
Let's look at the Description tab in more detail. This tab contains details on the security defect being created (required fields are marked with an asterisk):
- Brief defect description in the Summary field.
- Information from AST tool: file name, source code line number, call stack for security issue(s), risk, cause, and general recommendations.
- Defect Priority (Blocker, Critical, Major, Minor, Info) indicates the importance or urgency of fixing this defect.
- Defect Severity (Low, Medium, High, Critical) is the degree to which the defect affects the development or operation of an application. The higher the defect severity, the more negative impact it has on the application.
- Defect Status shows the current stage of the defect life cycle in Maverix (Registered, Open). These Maverix defect statuses should be mapped to defect statuses in Jira, for more information, see the "Sync with Jira" section.
- Defect Source can be one of the following:
- Manual: the defect was found during manual testing.
- Tool: the defect was detected with the AST tool.
- Public source: the defect was reported in an Internet article or any other public report.
- External source: the defect was reported by any external source as part of the Bug Bounty program or any other loyalty program.
- AST Tool that found the defect.
- Defect Type (Requirements, Architecture, Software, Configuration, Security). In this example, it’s the software defect.
- The Detection stage displays the stage at which the defect was detected. It can be selected from the following list: Development, Functional Testing, Integration Testing, User Acceptance Testing, and Production. In this example, it’s the Development stage (DEV).
- The Structure unit to which the defect belongs (None, Front-end, Back-end, Database).
Enter/edit defect information and click the Save button at the top right of the defect information window.

All security issues linked to the defect get Open status. Also, a new security defect with Open status is created. Select the Defects menu item on the left to see the newly created security defect on the application defects page.
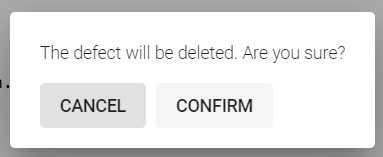
It’s possible to delete a created security defect in Maverix. Select the Defects menu item. Open the window of the created security defect, click the Actions ![]() button and select the Delete item. Once confirmed, the defect will be deleted.
button and select the Delete item. Once confirmed, the defect will be deleted.
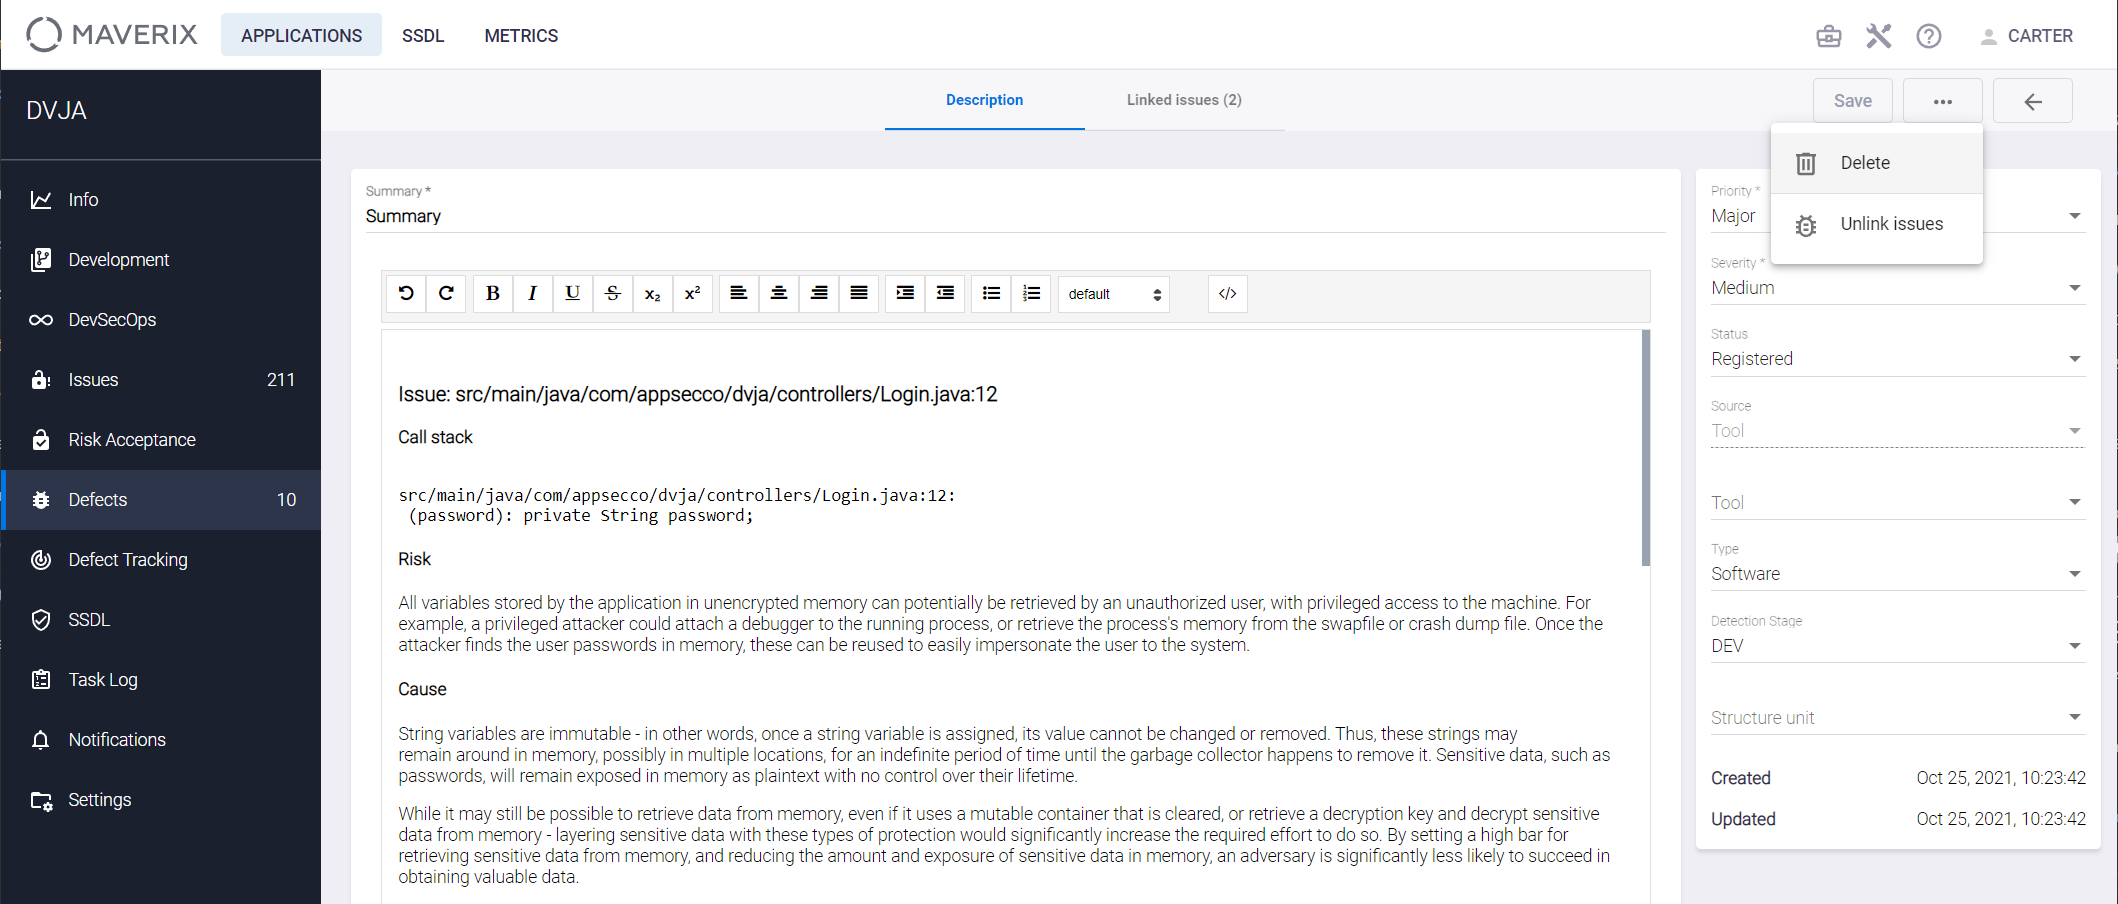
It’s possible to unlink the defect and security issues associated with it. Open the window of the created defect, click the Actions ![]() button, and select the Unlink issues item in the menu. Once confirmed, all links will be deleted.
button, and select the Unlink issues item in the menu. Once confirmed, all links will be deleted.